Key Takeaways
- Use the Quick Settings menu for easy access to commonly adjusted options like screen brightness and volume.
- Enable dark mode to make the interface easier on the eyes.
- Customize Sleep Mode settings to optimize battery life and prevent automatic activation during media playback.
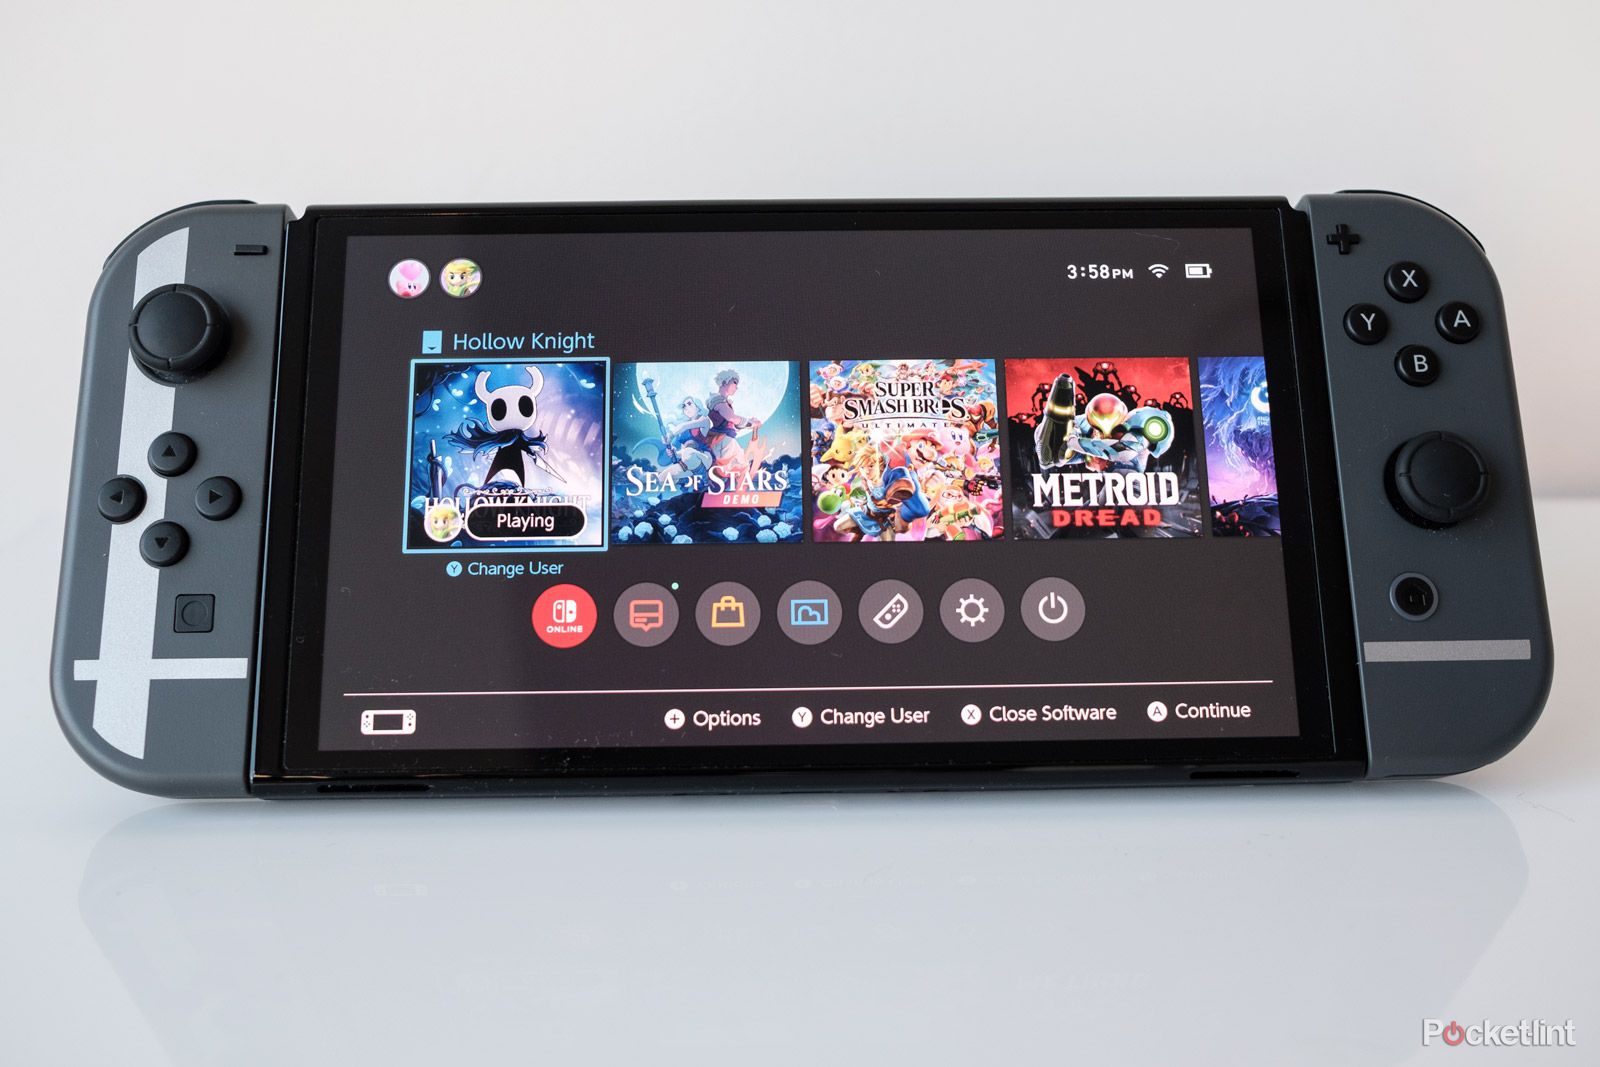
If you just got your first Switch this holiday season, or you’re a seasoned veteran, there’s a good chance you want to get the most from Nintendo’s console. This guide will take you through all the console’s most notable settings, explaining what they do and how to enable them. Outside a few exceptions, all the options mentioned below are accessible from the System Settings menu, which you can find on the console’s home screen.
Nintendo Switch tips and tricks: How to get the most from your console
The Nintendo Switch is one of the best consoles around. Here’s how to get the most from it.
1 Get acquainted with Quick Settings
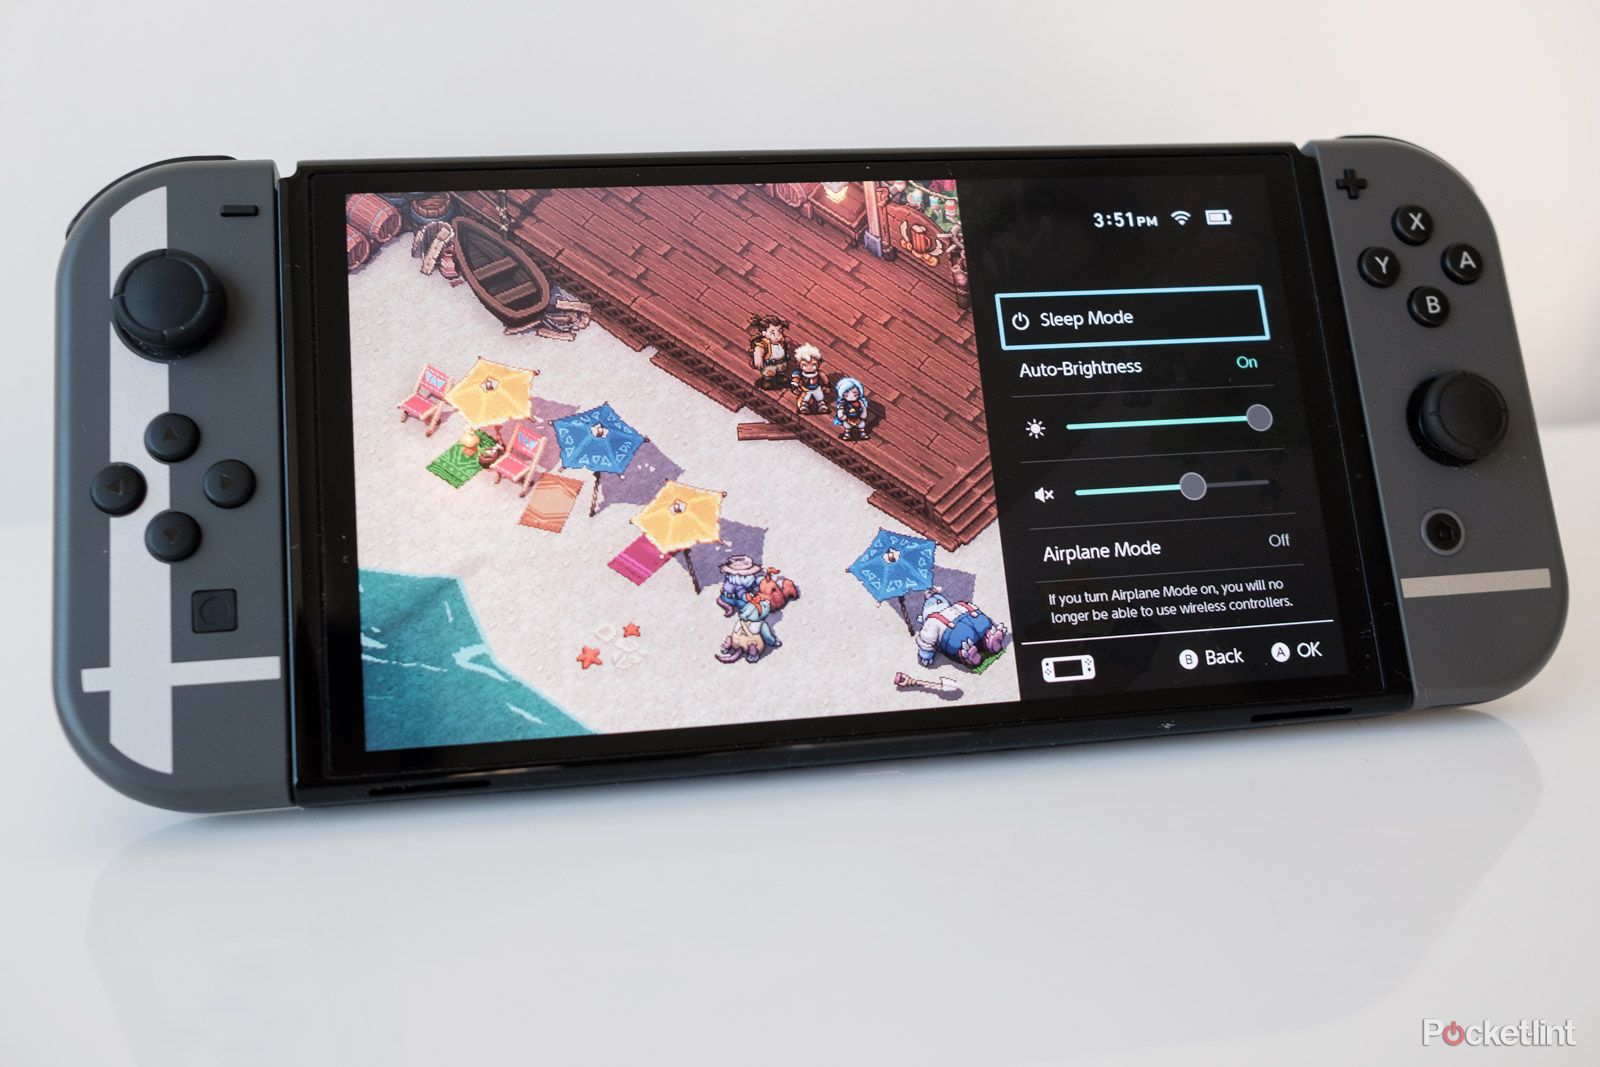
Hold down the Switch’s Home button
Although not technically a setting itself, the Quick Settings menu offers a convenient way to access the options users are likely to tweak most often, all without digging into the Switch’s System Settings.
You can open the Quick Settings by holding down the Switch’s Home button for a few short seconds. From here, you can turn on or off the console’s auto-brightness and airplane mode features, as well as adjust screen brightness and volume and put your Switch to sleep. It’s also a handy way to check the time and your system’s remaining battery life without leaving a game.
On the subject of battery life, you can make it easier to estimate how much playtime you have left by seeing your Switch’s remaining battery power represented as a percentage. To do so, hold the ZL and ZR buttons at the same time while you have the Quick Settings menu open. Alternatively, you can make the percentage appear permanently by opening the System Settings menu and enabling Console Battery (%) under the System section.
Press the ZL and ZR buttons together when the Quick Settings menu is open to see your Switch’s remaining battery represented as a percentage.
2 Save your eyes with dark mode
Go Basic Black
Like many other modern devices and apps, the Nintendo Switch offers a dark mode setting that darkens interface elements to make them easier on the eyes. Unfortunately, it’s not a true dark mode that takes advantage of the properties of OLED screens to reduce battery drain, but if you find the Switch’s default theme has a retina-searing quality to it, what’s available is a good alternative. To enable dark mode:
- Open the System Settings menu
- Scroll down to the Themes section
- Select Basic Black
3 Get more natural colors on OLED Switch
Vivid vs Standard
The OLED Switch boasts one of the best displays to ever grace a gaming handheld. It offers excellent motion clarity and contrast. Out of the box, however, the OLED screen can look over-saturated. Thankfully, if you’re not a fan of that look, the console offers two different color modes. Here’s how to switch between them:
- Open the System Settings menu
- Scroll down to the System section
- Tap Console-Screen Colors
- Select Vivid or Standard, depending on your preference

Best Nintendo Switch models: Switch, Switch Lite and Switch OLED compared
There are three Nintendo Switch models to choose from – the OLED, Lite and normal. But which is the best?
4 Pair Bluetooth headphones with Switch
Or pair a speaker
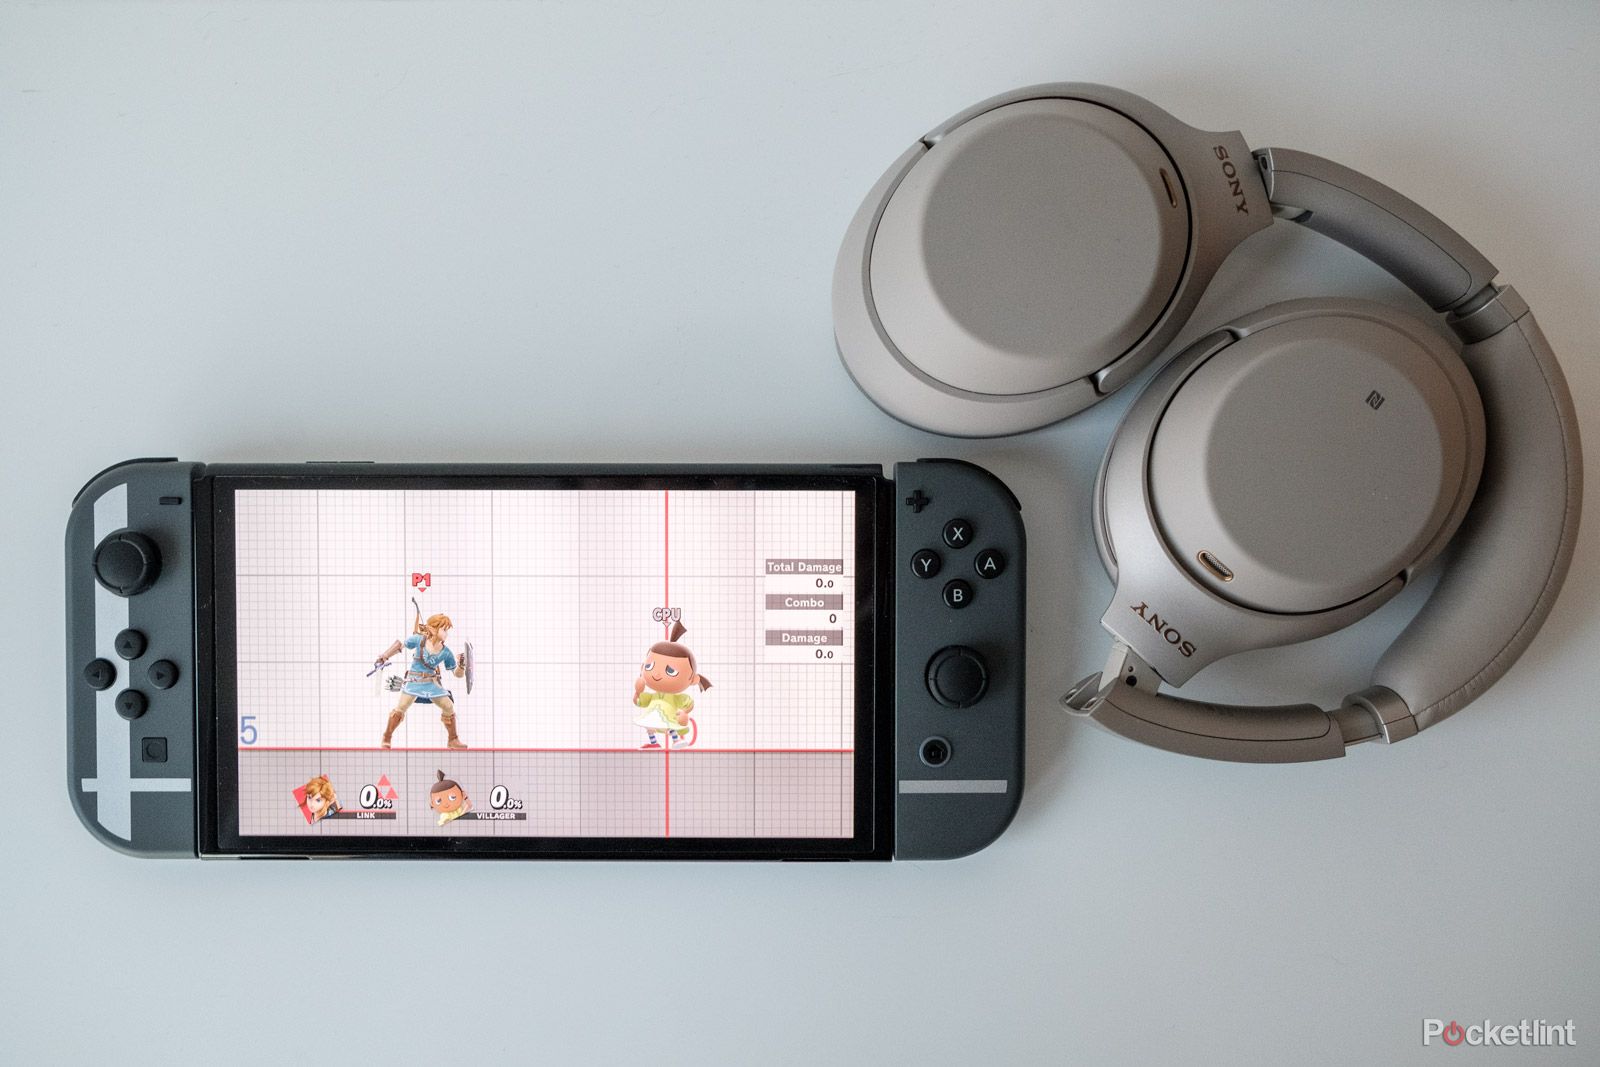
It took Nintendo far too long to add Bluetooth audio support, and there are some limitations worth noting. For instance, it’s only possible to use two controllers while you have a Bluetooth audio device connected to your Switch, and Bluetooth microphone input is off the table. To pair a Bluetooth device with your Switch:
- Open the System Settings menu
- Scroll down to Bluetooth Audio section
- Select Pair Device
- Enable Bluetooth pairing mode on the device you want to connect
5 Protect your hearing
Or your kid’s hearing
Dixit Dhinakaran / Unsplash
On the subject of audio, if you want to protect your hearing or that of a young one, the Switch offers a helpful setting that, when enabled, will automatically limit the maximum output volume of any headphones connected to the Switch. To enable the protection, open the System Settings menu, scroll down to the System section and Enable Lower Max Headphone Volume.
In the same section of the System Settings menu, you will also find an option to prompt the Switch to automatically mute itself when you disconnect a pair of headphones. This setting – Mute When Headphones Are Disconnected – should be on by default, but if it’s not, you can enable it here. It’s useful whenever you find yourself in a public space and want to avoid disrupting those around you.
6 Get the most from Sleep Mode
Extend your battery life
Pocket-lint
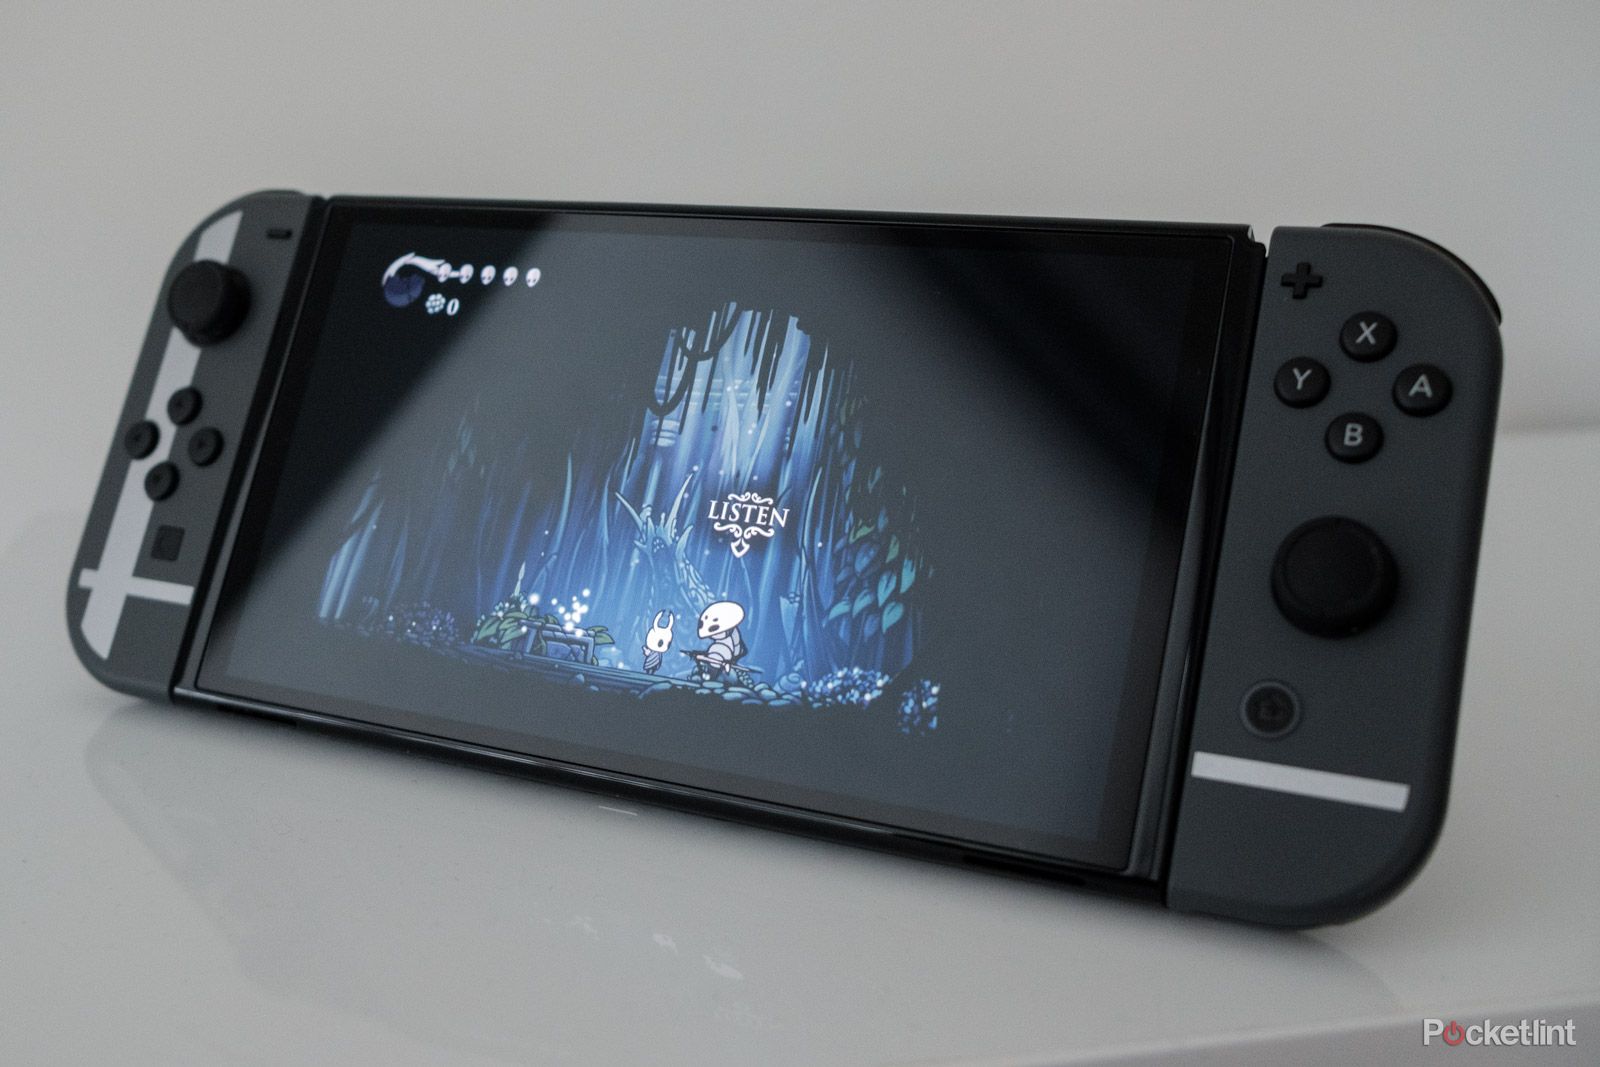
As with most portable devices, the Switch features a Sleep Mode that is essential to getting the most out of its battery. In fact, there’s an entire section of the System Settings menu dedicated to customizing how the mode works. Of note, you can adjust the amount of time before your console goes to sleep, whether it’s connected to a TV or you’re playing in portable mode.
There’s also an option to disable Sleep Mode from activating automatically when playing media content. I would recommend leaving the Maintain Internet Connection in Sleep Mode setting enabled, as this allows you to start an eShop download from your computer or mobile device, instead of directly from the Switch where Nintendo’s digital marketplace can be painfully slow.
7 Allow your Switch to turn on your TV
Works wirelessly
If you frequently game on your TV, the Switch can turn it on or toggle to the correct input for you. What’s more, this feature works wirelessly, so all you need to do is press the Home button on your Joy-Con or Pro controller. This feature is enabled by default, so if you’d like to turn it off, you can do so by disabling the Match TV Power State option found under the TV Settings section of the System Settings.
If your favorite game doesn’t support controller remapping, you can still reconfigure the button layout of your Joy-Cons or Pro controller to better suit your needs. Head over to the Controllers and Sensors section of the System Settings menu and select Change Button Mapping. In addition to remapping any individual input on your Nintendo controller, you can swap the left and right analog sticks with one another. Just note that whatever changes you make will affect all your games.
8 Control who sees your playtime
Who can see your game activity?
If you’re curious about the amount of time you’ve spent playing a specific game, you don’t need to wait until Nintendo’s annual Switch Year in Review to find out. Your playtime is recorded in your player profile, which you can access by selecting your profile picture in the top right of the home screen. To adjust who can see your game activity:
- Open the System Settings menu
- Scroll down to the Users section
- Select your profile
- Tap Play Activity Settings
- Select Display play activity to:, followed by All Users, Friends, Best Friends, or No One to limit who can see your history
- Or tap Delete Play Activity to erase your history
9 Make things bigger
Zoom in
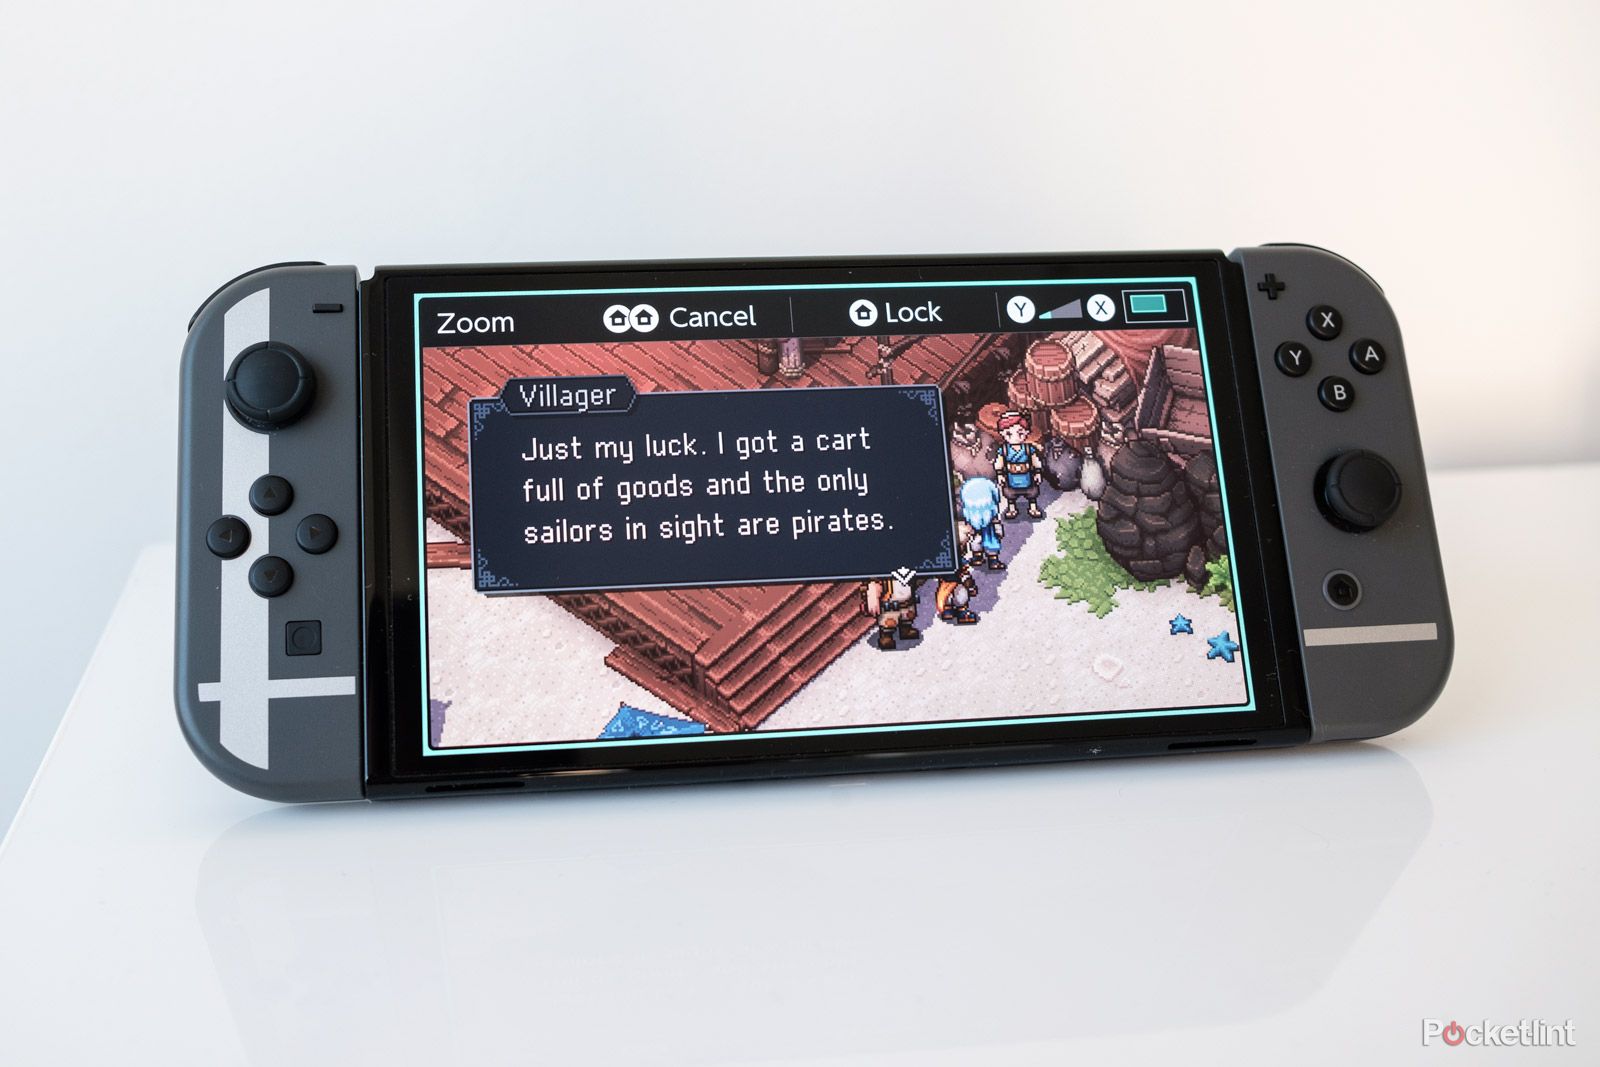
For visually-impaired users, Nintendo offers a zoom feature that can enlarge small text and interface elements. You can enable it from the System section of the System Settings menu. Once turned on, double tap the Home button to activate the functionality, and press X to zoom in on part of the screen or Y to zoom out. You can also lock in the zoom level by pressing the Home button once.
Trending Products

Cooler Master MasterBox Q300L Micro-ATX Tower with Magnetic Design Dust Filter, Transparent Acrylic Side Panel, Adjustable I/O & Fully Ventilated Airflow, Black (MCB-Q300L-KANN-S00)

ASUS TUF Gaming GT301 ZAKU II Edition ATX mid-Tower Compact case with Tempered Glass Side Panel, Honeycomb Front Panel, 120mm Aura Addressable RGB Fan, Headphone Hanger,360mm Radiator, Gundam Edition

ASUS TUF Gaming GT501 Mid-Tower Computer Case for up to EATX Motherboards with USB 3.0 Front Panel Cases GT501/GRY/WITH Handle

be quiet! Pure Base 500DX ATX Mid Tower PC case | ARGB | 3 Pre-Installed Pure Wings 2 Fans | Tempered Glass Window | Black | BGW37

ASUS ROG Strix Helios GX601 White Edition RGB Mid-Tower Computer Case for ATX/EATX Motherboards with tempered glass, aluminum frame, GPU braces, 420mm radiator support and Aura Sync


